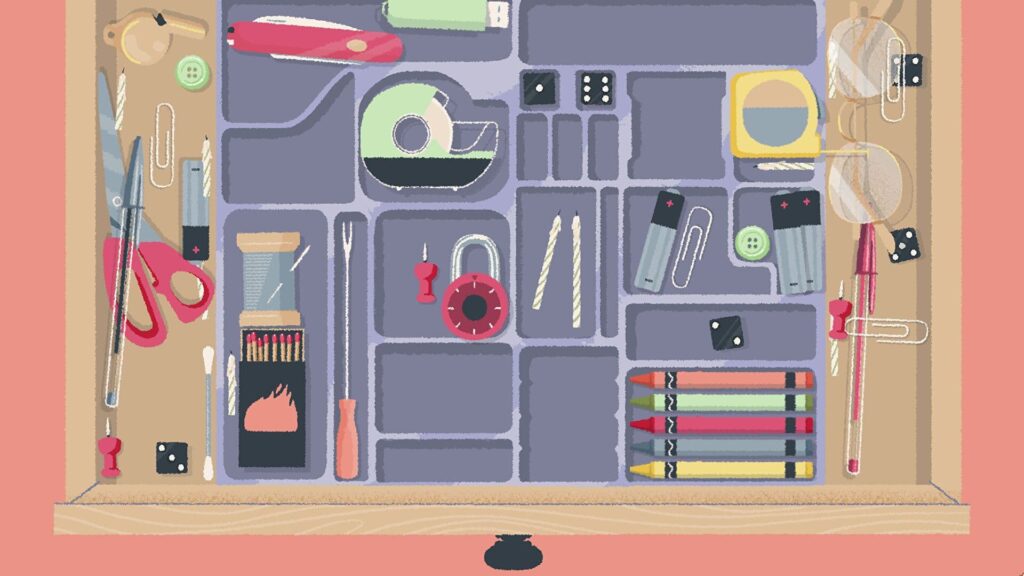
A Little to the Left is an interesting and relaxing family-friendly puzzle game where you have to arrange items into curious patterns. The puzzles in A little to the Left are mostly set in the home, ranging from a drawer containing a variety of utensils to a scattered collection of broken pottery pieces. A little to the Left has a few puzzles that are a bit clunky and unintuitive, but many are just plain fun to solve. Some are also quite creative, like arranging objects by color or size.
The biggest problem while playing A Little to the Left is that the puzzles can be a little too hard to solve, especially on a computer screen. The good news is that a few olive branches in A little to the Left help you along the way, including a hint system that lets you see if the best solution is really that obvious or if you need to use your imagination. There are also several different daily puzzles to try your luck with, each of which offers a dazzling and impressive solution.
How to Solve Puzzles in A Little to the Left?
A Little to the Left has numerous single-screen puzzles that are grouped into five chapters, each with a unique theme and a handful of standouts. The most difficult of the lot may be the last, but the challenge is all worth it in the end. Here are all the solutions for puzzles in A Little to the Left:
Chapter 1: Home Sweet Home Walkthrough
- Level 1: Painting: Straighten the painting
- Level 2: Toys: Place all the toys in the basket
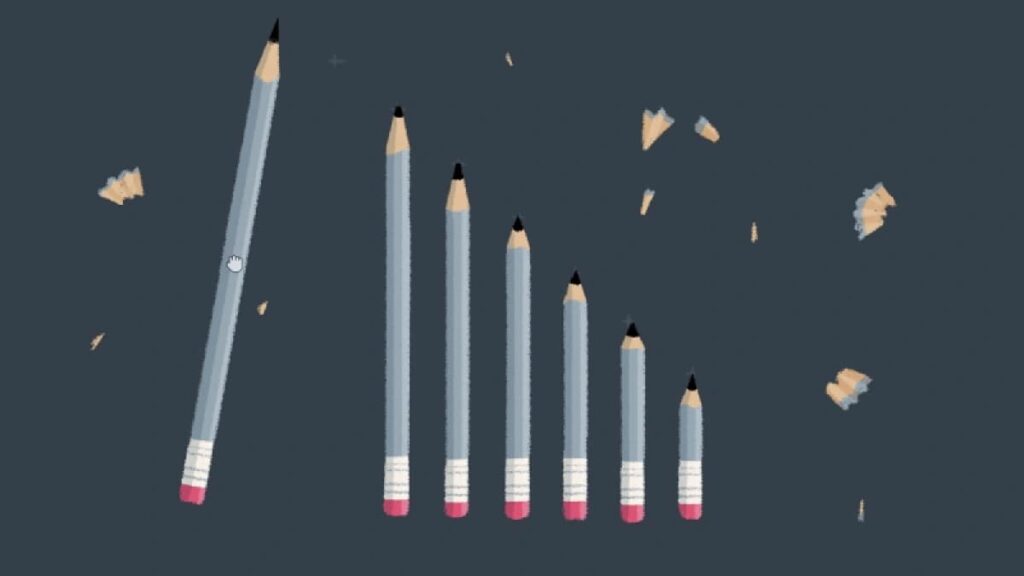
- Level 3: Pencils: Put the pencils in order from lightest to darkest.
- Level 4: Sticky Notes: Place the sticky notes in the correct sequence
- Level 5: Paintings: Straighten the paintings.
- Level 6: Papers: Stack the papers in order from the largest area to the smallest area.
- Level 7: Books: Slide the books in order from tallest to shortest – Slide the books in order from widest to thinnest.
- Level 8: CDs: Slide the CDs so that they’re vertically aligned.
- Level 9 Envelopes: Use the stamps to continue the patterns present on the envelopes. Stamps may be underneath envelopes, so move them around if you’re missing one. Click the cat paw to prevent it from disrupting your screen.
- Level 10: Sticky Notes: Place the sticky notes in the grid so that the scribble connects across all notes.
- Level 11: Berries: Count the number of pins in each color, and drop them in the plant with the same number of berries. Ex: there are four black pins, so drop those in the plant with four berries.
- Level 12: Calendar: Place the stickers on the write dates. TBH, I don’t know why this is the answer.
- Level 13: Red Books:
- Slide the books so that the pattern across the base of the spines matches up across all books
- Slide the books so that the shortest is in the center, and the books increase in height on both sides.
- Level 14: Paintings: Tilt the paintings so that the perspective/subjects of the paintings are right-side up. Placement can be very picky; listen for the dings to verify the painting is correct.
- Level 15: Sticky Notes: Put the sticky notes in the grid so that the scribble connects across all notes. Not every grid spot is used.
- Level 16: Pencils:
- The pencils should be put in order from dullest tip to sharpest tip. Drag the shavings to the edge of the screen to get rid of them
- The pencils should be put in order from least eraser to most eraser.
- Put the pencils in rainbow order.
- Level 17: Items on Desktop: Arrange the items so that they perfectly take up the desktop with no spaces.
- Level 18: Books:
- Slide the books so that they’re in rainbow gradient order.
- Slide the books so that they’re in order from highest spine strip to lowest spine stripe.
- Level 19: Pencils:
- Put the pencils in order from tallest to shortest.
- Put the pencils in order based on the carvings – curliest to zigzag-est (lol).
- Level 20: Gramophone: Turn the dials until the light turns on above them, and move the arm onto the second song, the only one without scratches.
Chapter 2: The Lost Recipe Walkthrough
- Level 21: Tomatoes:
- Rotate the soup cans until all display tomatoes on the front.
- Rotate the soup cans so that they show the entire label across them.
- Level 22: Jars:
- Slide the jars so that they’re in gradient order from yellow to green.
- Slide the jars so that they’re in order from tallest jar to shortest jar.
- Slide the jars so that they’re in order from tallest liquid height to shortest.
- Level 23: Spoons:
- Stack the spoons so that the largest is on the bottom and the smallest is on the top.
- Place the spoons so that they’re in order from largest to smallest.
- Level 24: Bowls:
- Spin the bowls so that the pattern lines up across all bowls.
- Spin the bowls so that the cracks line up across all bowls.
- Level 25: Jars:
- Slide the jars so that both rows are in color gradient order.
- Slide the jars so that the slopes inside the jars line up on both rows.
- Level 26: Eggs: Place the bread ties so that they fit together like puzzle pieces along the sides.
- Level 27: Breads: Place the bread ties so that they fit together like puzzle pieces along the sides.
- Level 28: Fruits:
- Spin the fruit and remove all stickers.
- Spin the fruit and remove all blue stickers. Place the green sticker on the pear, the orange on the orange, and the red on the apple.
- Level 29: Pastas: Place the noodles, so they’re in order from straightest to curliest.
- Level 30: Glasses: Spin the glasses so that an image lines up with an identical one on the back. The first image is a small bird, the second is a large bird, and the third is a fisherman.
- Level 32: Food: Place the food on the plate in a satisfying symmetric way.
- Level 33: Cans: Move the cans, so each column has only one color.
- Level 34: Postcards: Arrange the postcards so that the water connects across all of them.
- Level 35: Foods: Slide the objects so that shapes continue into the next object. Mostly labels.
- Level 36: Photos: Slide the photos on the fridge to create this series, IDK why.
Chapter 3: Nitty Gritty Walkthrough
- Level 37: Cleaning Supplies: Slide the cleaning supplies so that the sides fit together like puzzle pieces. The sponge needs to be dragged.
- Level 38: Batteries: Arrange the items so that they fit. Make sure the labels line up to create a cohesive image.
- Level 39:
- Place the items in order from largest area to smallest area.
- Stack the items in order from largest area to smallest area.
- Place the items in order of sides, greatest to least.
- Level 40: Kitchenwares: Arrange the kitchenware so they fit perfectly.
- Level 41: Light Bulbs: Arrange the light bulbs so that they fit perfectly.
- Level 42: Arrange the items so that they fit perfectly.
- Level 43: Paints:
- Spin the paint cans so that the pain drips line up.
- Spin the paint cans so that the triangular design lines up.
- Level 44:
- Sort the buttons by color.
- Sort the button by number of center holes.
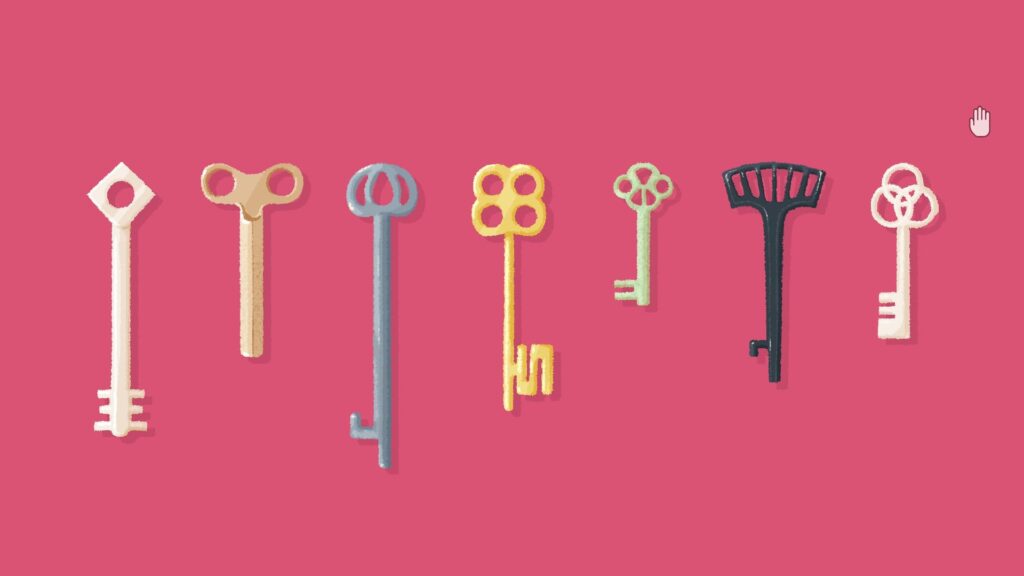
- Level 45: Keys
- Place the keys in order from tallest to shortest.
- Place the keys in order from least holes to most holes.
- The end of the keys resemble numbers or have a certain number of pegs. Place them in order from 1 to 7.
- Level 46: Toolbox: Arrange the toolbox so that everything fits perfectly.
- Level 47: Cabinet: Arrange the cabinet so that everything fits perfectly. make sure labels are lined up. Click the lid of the Q-Tip jar to open it.
- Level 48: Arrange the tools so that everything fits on the pegboard.
- Level 49: Coins:
- Use the cloth to fully clean every coin.
- Click each coin until it’s fully dirty.
- Clean/dirty the coins so that they range from dirtiest to cleanest.
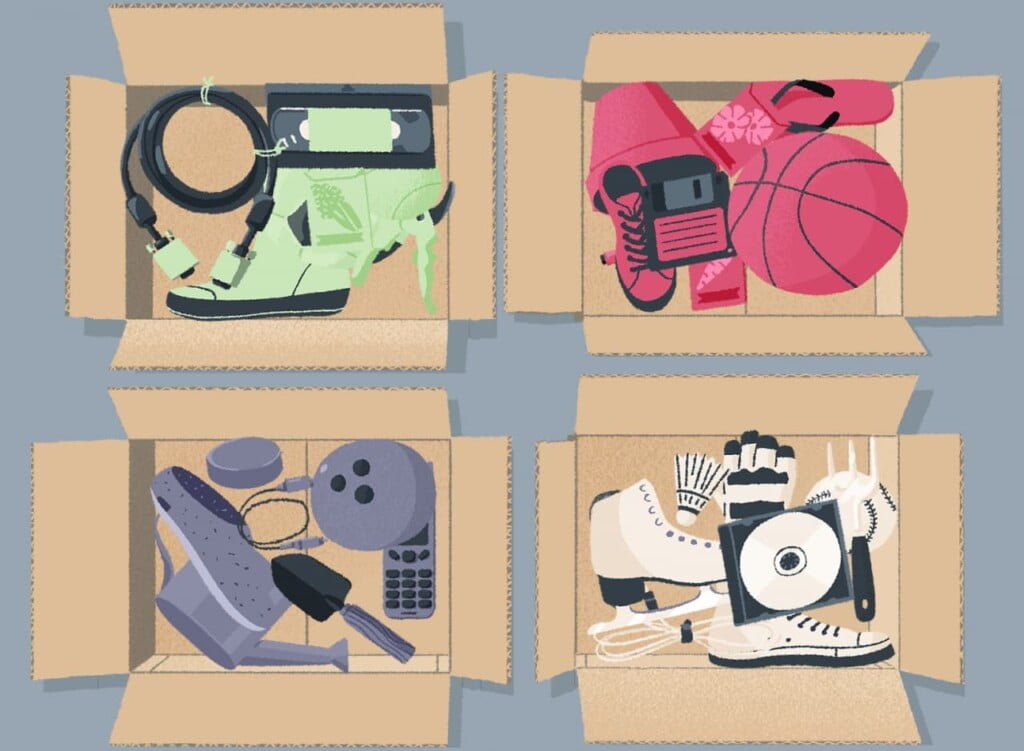
- Level 50: Sort the objects by color: Sort the objects by type, gardening, sports, shoes, and technology.
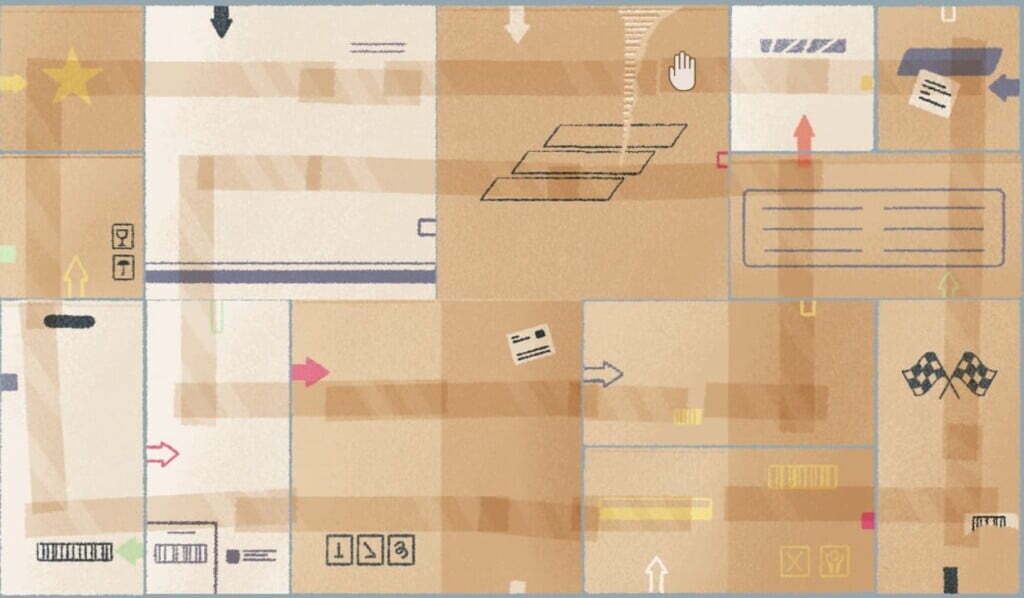
- Level 51: Boxes:
- Arrange the boxes so that the arrows all line up.
- Arrange the boxes so that the tape lines up.
- Level 52: Vase: Use the cloth to clean the vase, then lift the flowers until they’re blooming.
Chapter 4: Inner Nature Walkthrough
- Level 53: Vase: Put the vase back together using the pieces along the bottom.
- Level 54:
- Use the cloth to clean the paw prints and spill. Don’t forget to move the papers and lift the rug.
- Clean the paw prints. Some are hidden underneath the leaves, move them to get access. Drag the broken leaves off-screen for the most admirable look.
- Clean the paw prints left behind by the cat until it finishes.
- Level 55: Plant: Pluck certain leaves off of the plant.
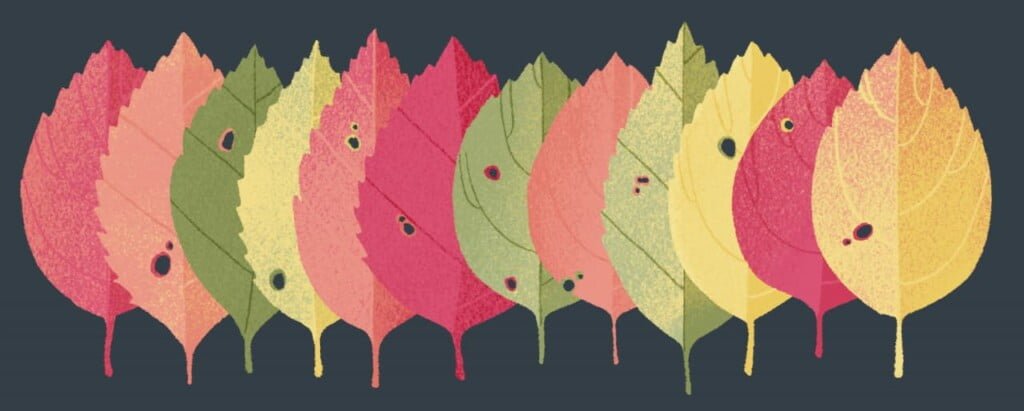
- Level 56: Leaves:
- Slide the leaves so that they’re in color gradient order.
- Slide the leaves so that they’re in order from most edge ridges to least edge ridges.
- Slide the leaves so that the holes align.
- Level 57: Plants:
- Slide the gems so that they’re in color gradient order.
- Slide the gems, so they’re in order from the least number of faces to the most.
- Slide the gems so that their ends fit together.
- Level 59: Place the items in the required pattern.
- Level 60: Clip the correct leaves.
- Level 61: Place the objects into the corresponding compartments. There is more than one way to solve this.
- Level 62: Place the items in this pattern.
- Level 63: Rocks:
- Place the rocks so that the color gradients. Solid colors go in the corners.
- Place the rocks so that the color gradients. Solid colors go in cardinal directions.
- Level 64: Fit the gemstones together like a puzzle.
- Level 65: Clovers: Place the clovers in this pattern.
- Level 66: Use the drag and zoom to align the pattern with its pieces, repeat 3 times. Zoom by dragging the outer ring.
- Level 67: Spider Web: Grab the bugs and place them opposite of the already caught bug with the same color. Place the gold bug in the center.
Chapter 5: Near Earth Organizer Walkthrough
- Level 68: Arrange the 5 leftmost paintings as it indicates. Then, tilt the upper-rightmost painting to the Left, so that the ball falls into the garage. Tilt that painting to the Left, so that it falls into the next painting, becoming a doughnut. Tilt the garage painting to the right. Tilt the doughnut painting to the right.
- Level 69: Clock: Spin the clockhands so that they match the shadow.
- Level 70: Chess: Drag the shadows until each piece has it’s own shadow. Then, slide the pieces so that they’re in order from shortest to tallest.
- Level 71: Stars: Drag the glowing stars around until a fuzzy set of lines appears. Slowly move the star around further until the lines become solid. You will have to create 3 constellations.
- Level 72: Make the icons on the laptop screen match the environment, then use those to properly organize the environment. Pay attention to the clock time, the order of the pencils and the rotation of the globe and the apple. When the cat walks across the keyboard, erroring the computer, simply close the pop-up windows.
- Level 73: Create a match for each color and place it into the center matchbox, creating a white match. Pick this match up to light it and end the level. How to make the match colors:
- Red – given
- Blue – place a red match in the purple box
- Purple – place a red match in the blue box
- Yellow – place a red match in the orange box
- Orange – place a red match in the yellow and red boxes
- Green – place a yellow match in the blue box
- Level 74: Candles
- Use the match to melt/grow the candles until they are all the same length. The black match melts, and the white match grows. Click on the flame to snuff it out.
- Melt/grow the wax so they’re in order from tallest to shortest wax. The black match melts, and the white match grows. Click on the flame to snuff it out.
- Level 75: Arrange the items as they appear in the mirror. To open the box, click the clasp pictured in the mirror on the back of the box. Don’t forget to click on the flame to extinguish it.
- Level 76: Use the light shade to illuminate the nearby electronics. Click the buttons to turn on the lights. Only turn on lights in a heart shape. Return the lamb to it’s starting position.
- Level 77: These events come at you fast, and all count as one level, but you can use the level select to skip to several different points. Level 77 is the last level in A Little to the Left and includes 12 different puzzles to complete the game.
- Pet the cat, continue to pet the cat every time the pulsing colored circle reaches the same size as the larger background circle.
- Put the leftmost cat toys in the right spots.
- Click the backward sticky notes until they continue the pattern.
- Spin the rings until each stack of cans is only one color.
- Spin the eggs out, and drag the forks until they’re off-screen. Spin the strawberries out, rotate them until they fit the gaps, and push them out.
- Rotate the soup cans until they only show tomatoes.
- Place the knut into its proper spot, and click on the backward parts to flip them.
- Just try to make sure their parts match the screws.
- Click the ladybugs in order from least spots to most spots.
- Spin the shadow rings until each shadow is behind the proper piece.
- Stack the Tupperware from largest area to smallest area.
- Fill the Tupperware so that everything fits perfectly, including the crumbs!
- Stack the tupperware. This takes a very long time, don’t get nervous! As far as I can tell, there is no time limit. If your Tupperware starts shaking, it means you stacked it too high; the cat wants to jump to a specific height, so try removing some and making an even floor at a lower level.


